
Mirror shine guide
Introduction:
For anyone who wants the ultimate shine on their shoes, there is mirror shining. It will give the tip of your shoes the perfect high gloss. The secret of mirror shining lies in the multiple thin layers of shoe wax, and the shining of these layers. Curious? This short guide will give you the basics to achieve a mirror shine.
- Properly prepare your shoes by removing old wax layers and creating a clean base.
- Build up a mirror shine with thin layers of hard wax.
- Use water and heat to achieve an even and deep shine.
- Refine the shine and add extra depth with a softer wax.
- Apply the mirror shine to the right parts of the shoe for a lasting result.
Before/after
Leather is a forgiving material to maintain.
After a little practice, these three steps will have your shoes looking sharp again.

After

Before
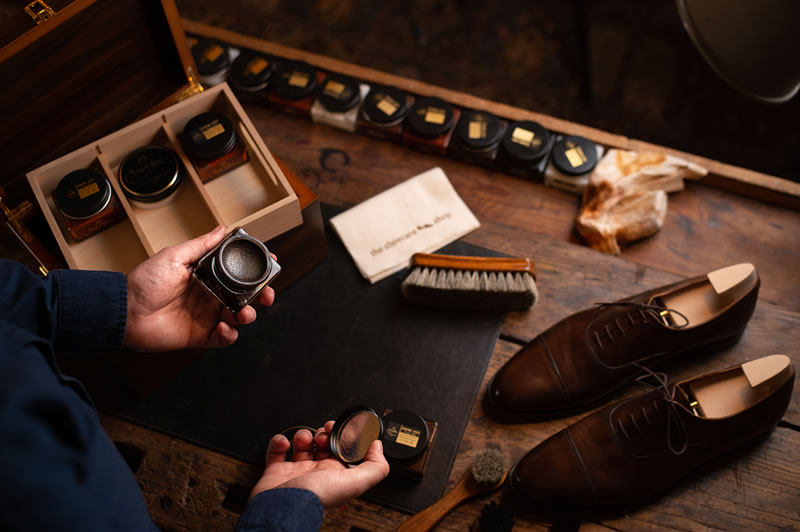
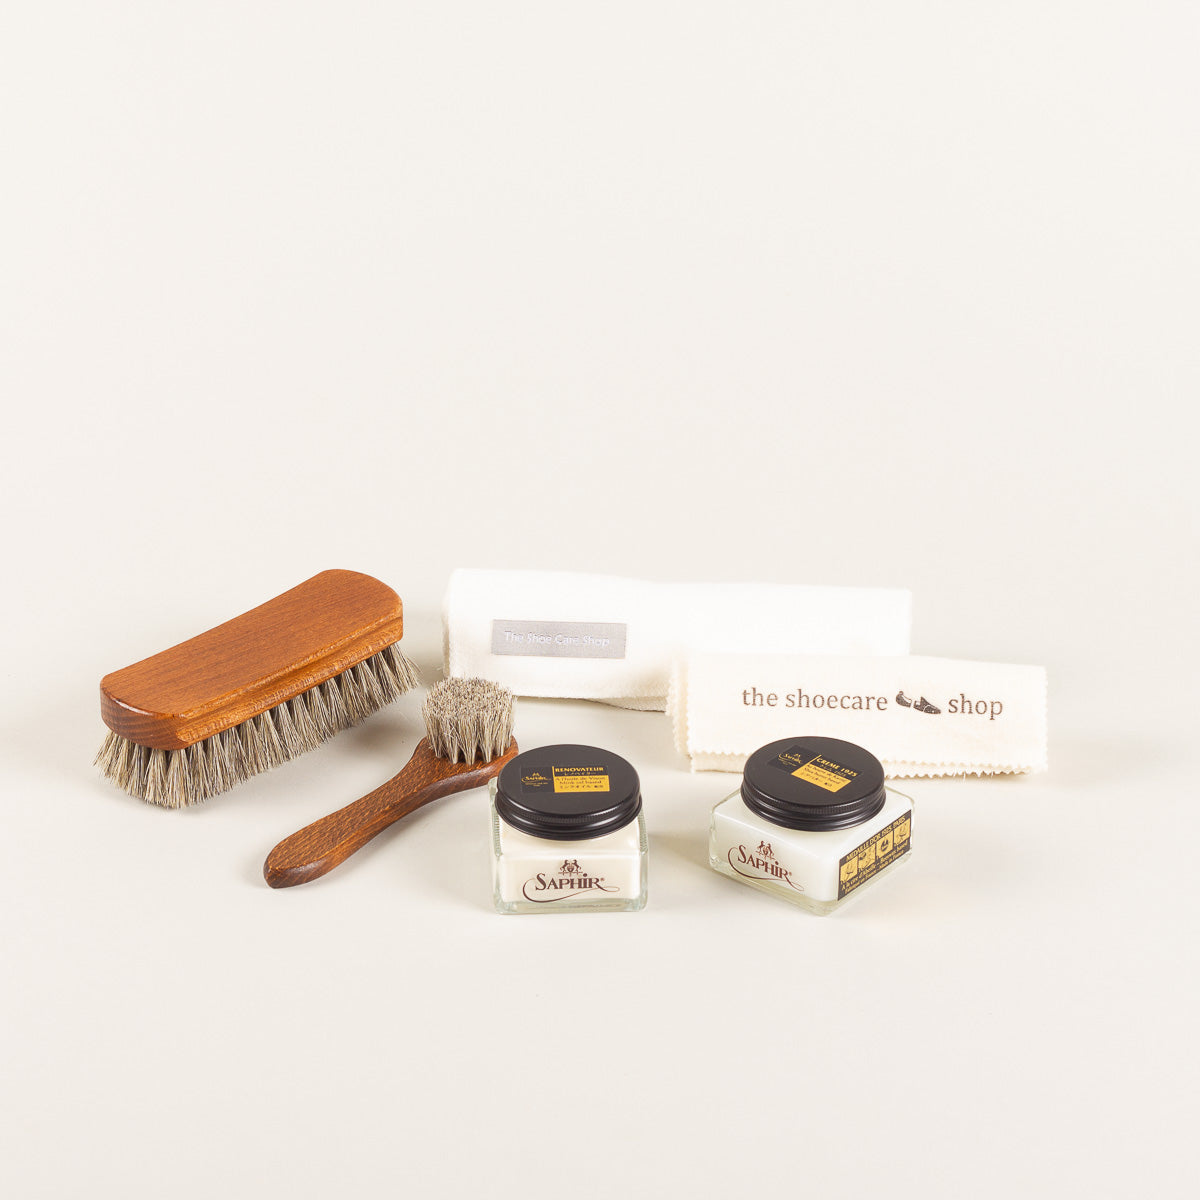
Preperation / cleaning
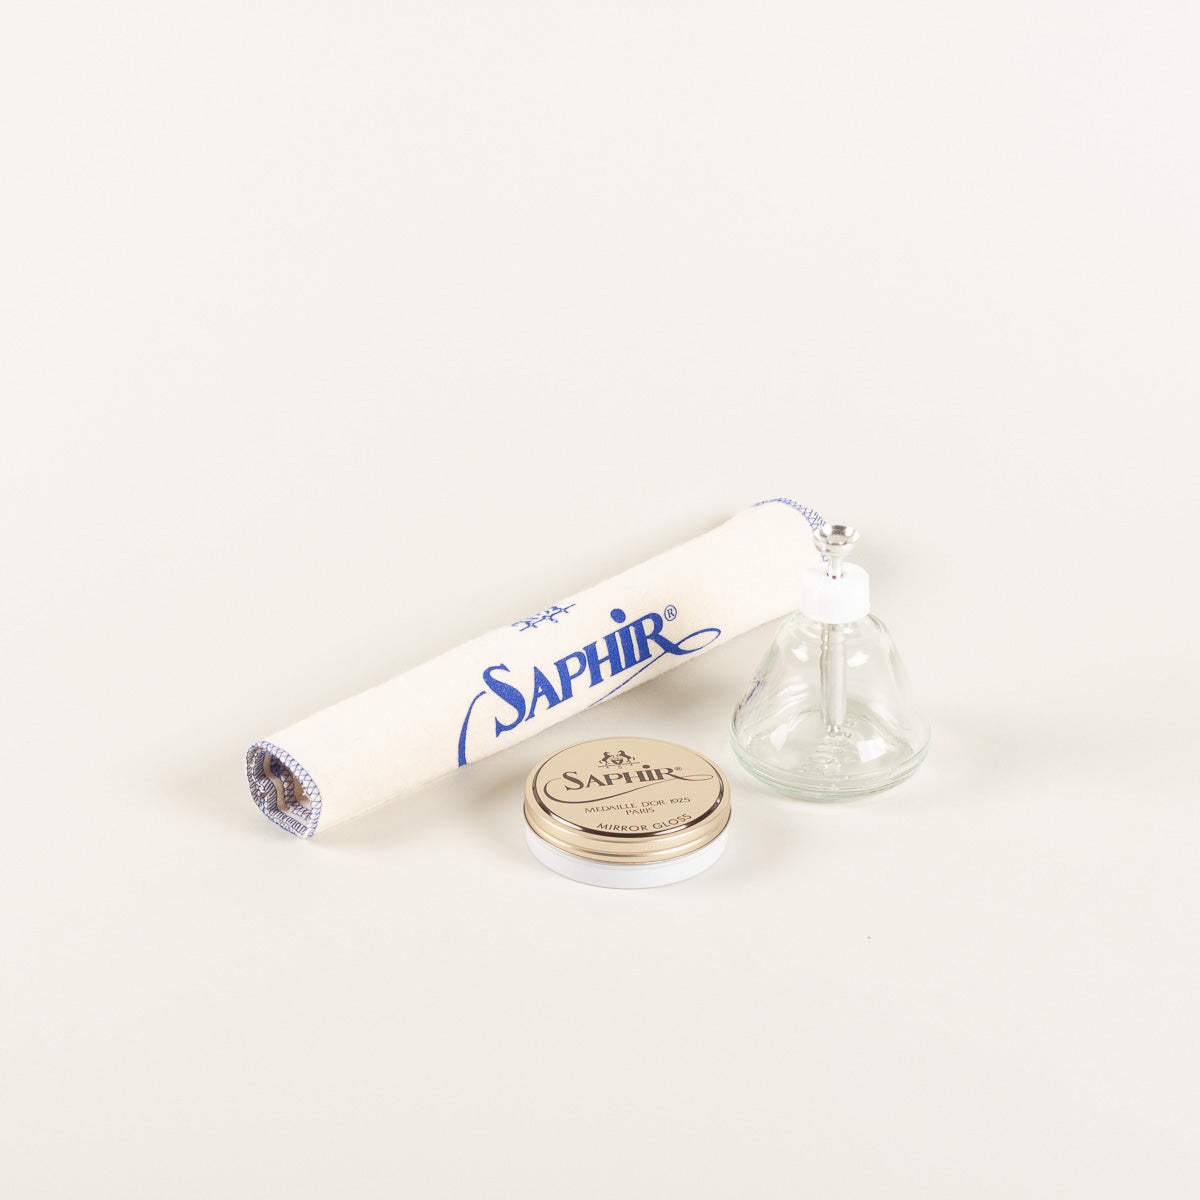
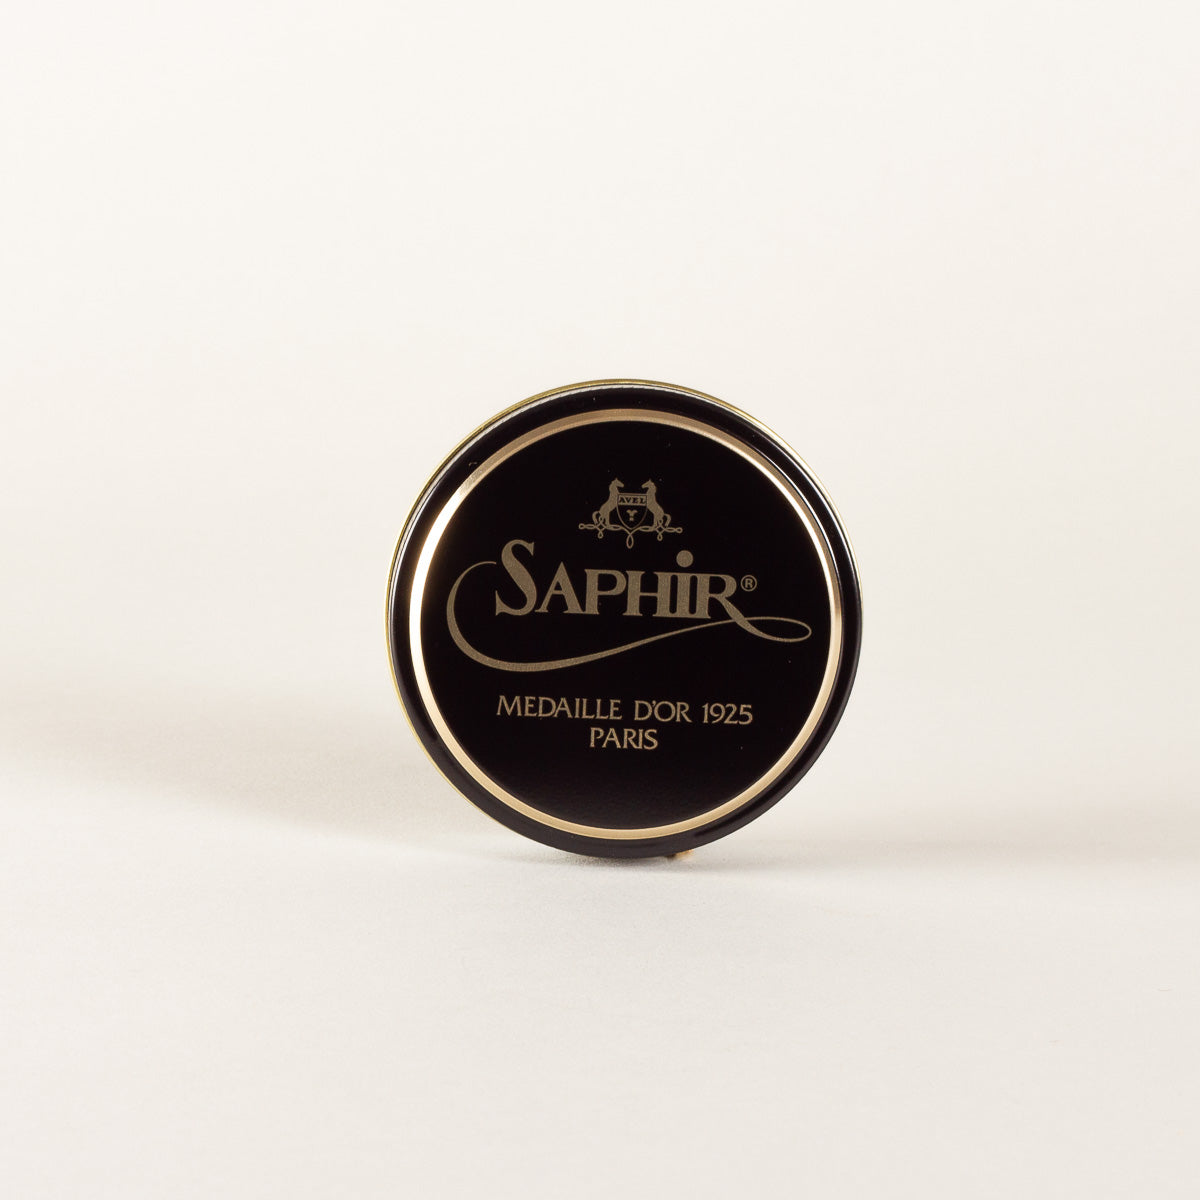
Before starting on a mirror shine, it’s best to clean your shoes thoroughly and, if needed, remove old polish with Saphir Renomat. This step isn’t always necessary, it depends on the condition of your shoes. For building up the shine, we recommend using Saphir Médaille d’Or Mirror Gloss, a firm wax that makes it easier to create the mirror effect. Once you’ve built the base, finish the shine with a touch of Saphir Médaille d'Or Pâte de Luxe. Thanks to its higher content of solvents and oils, it smooths out the wax layers and gives the leather even more brilliance. The result is like creating a mirror on the surface of the shoe—the smoother it is, the deeper the shine you’ll achieve.
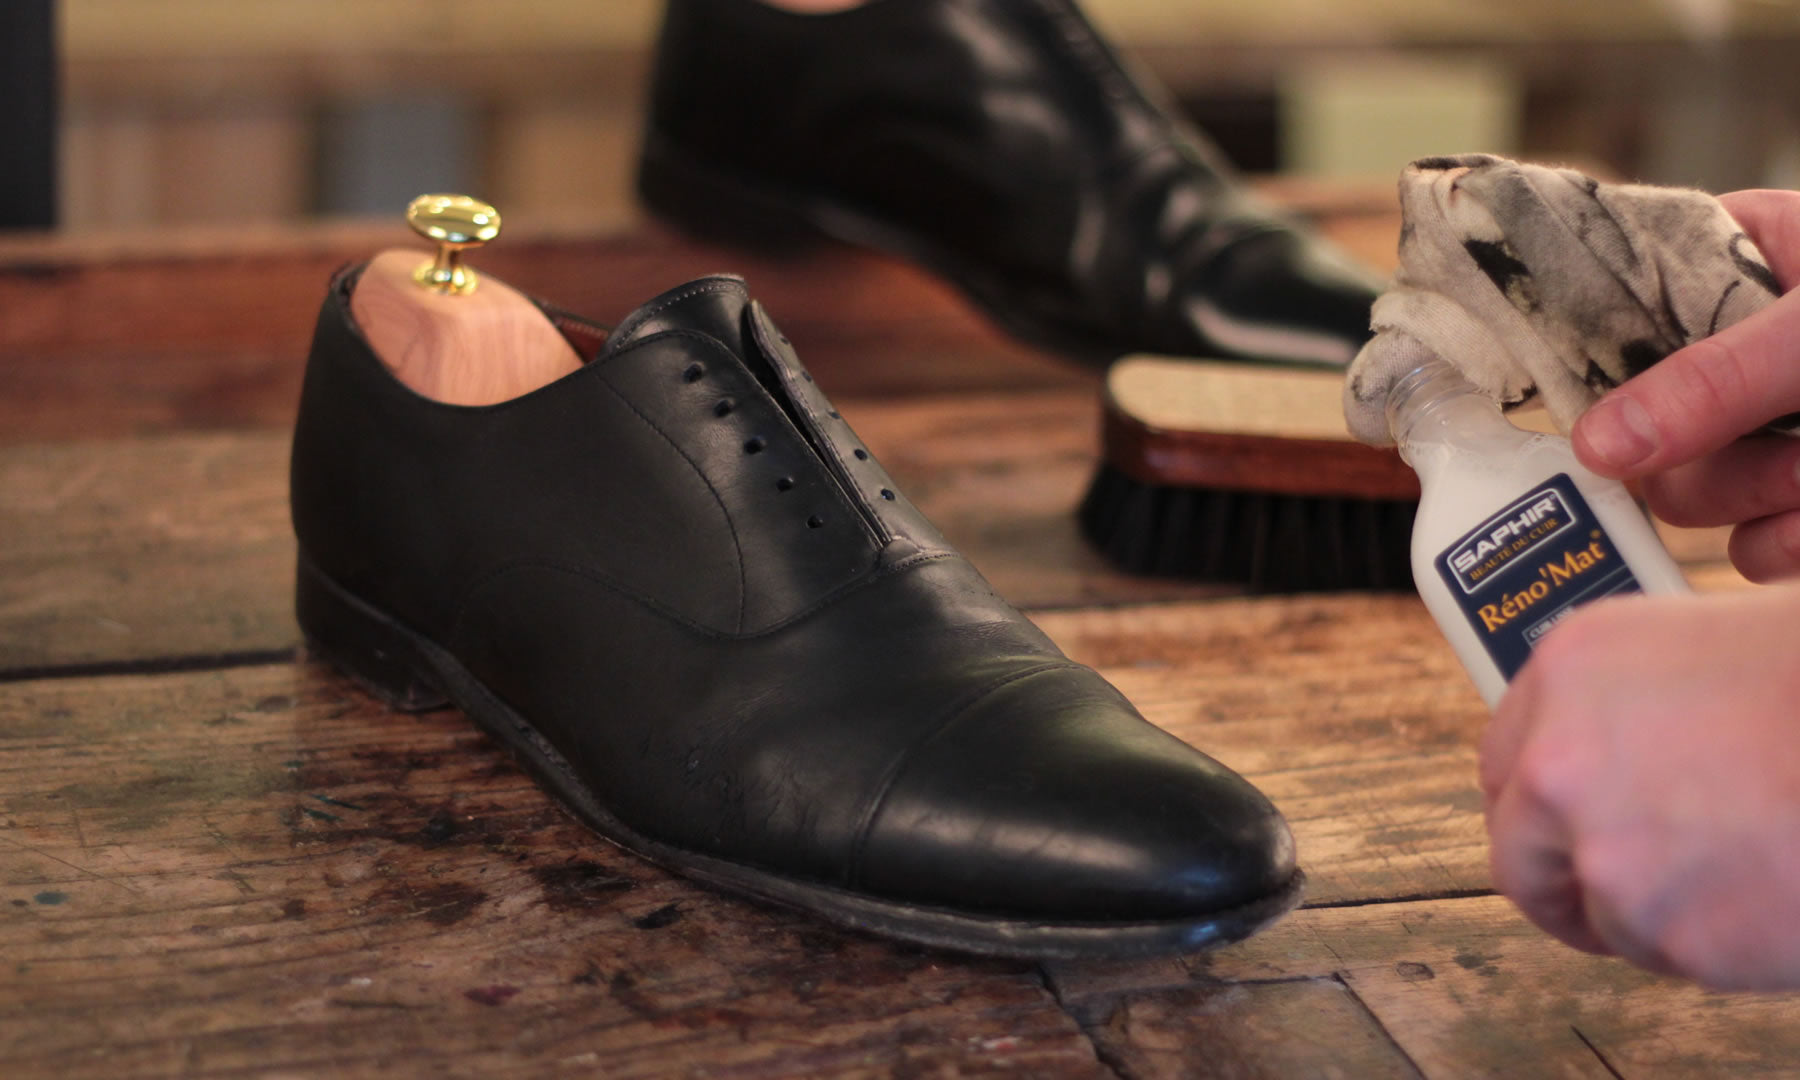
Tip!
With Saphir Renomat, you determine how thoroughly you clean your shoes. A light wipe removes the top layers, and longer rubbing cleans down to the factory finish. Not sure? A light wipe is often enough.
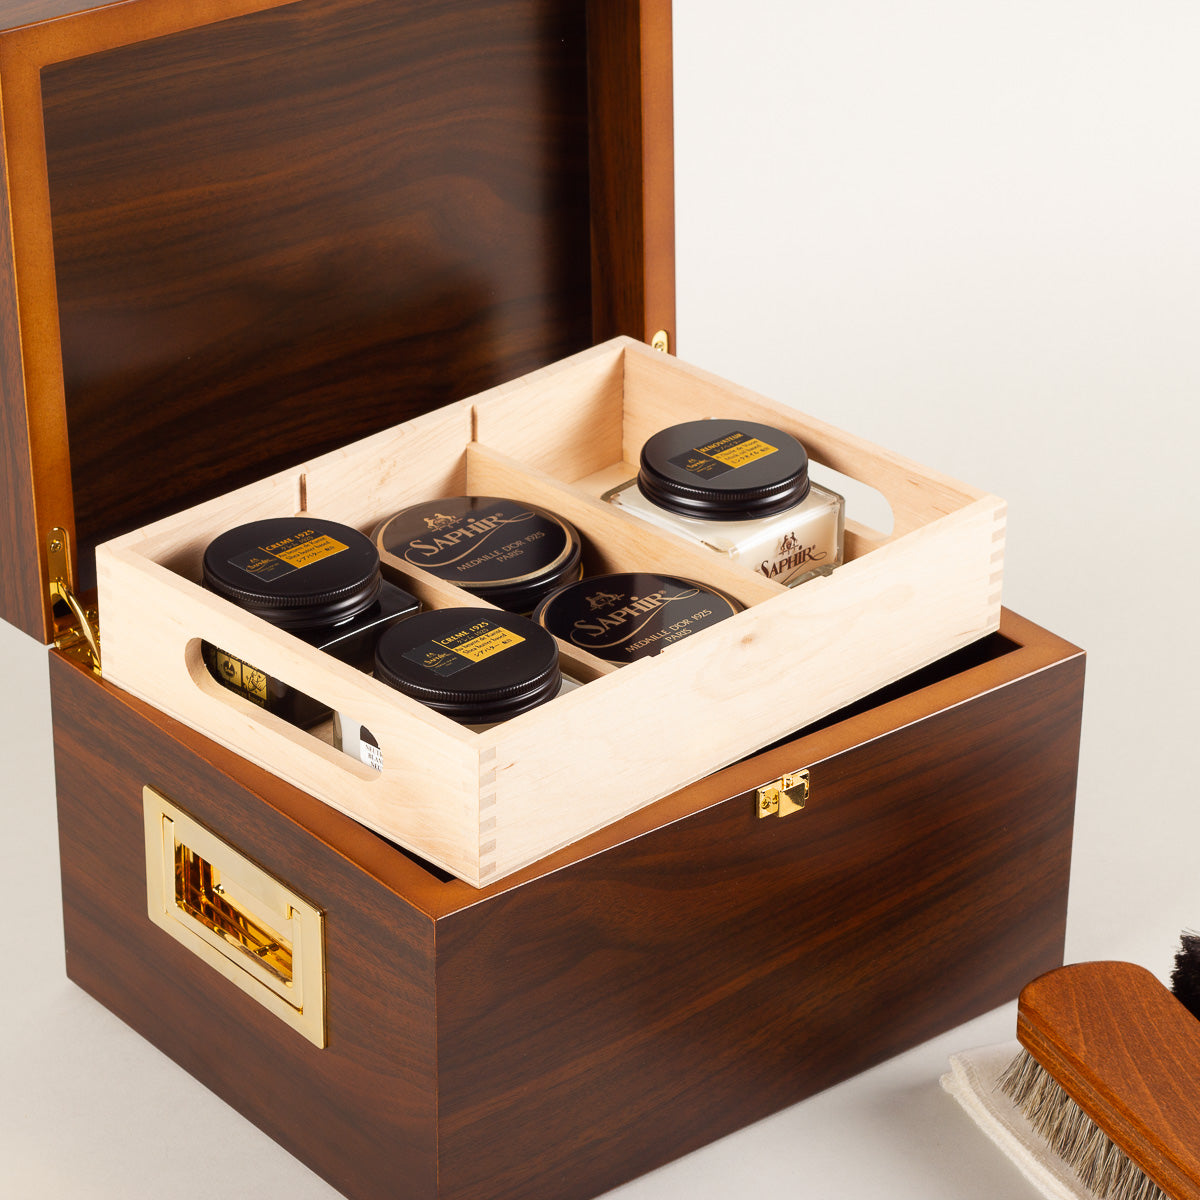
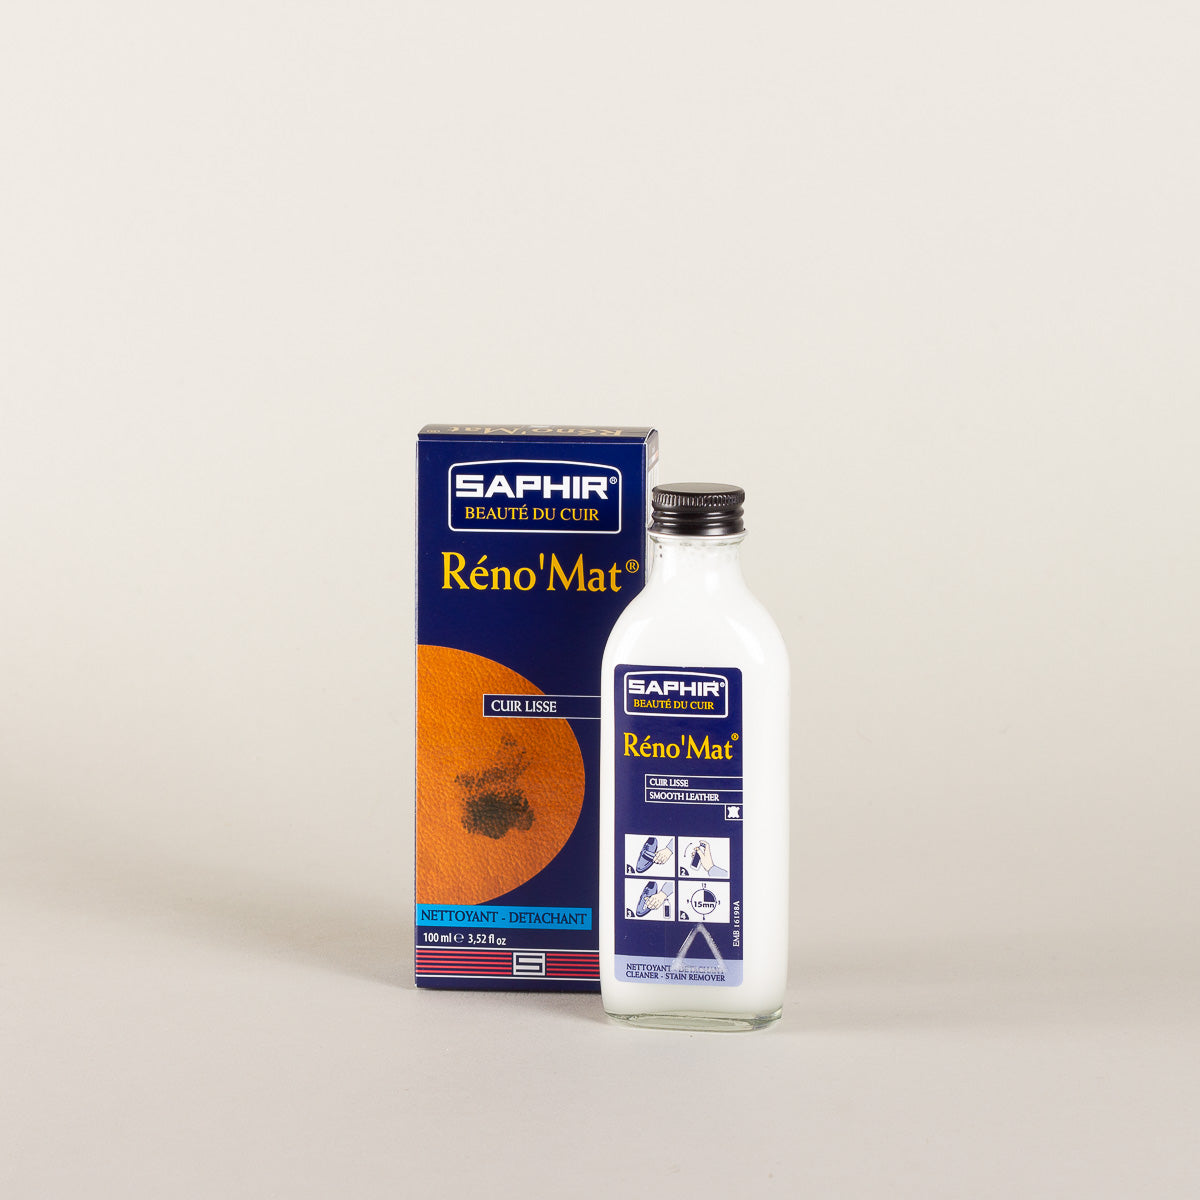
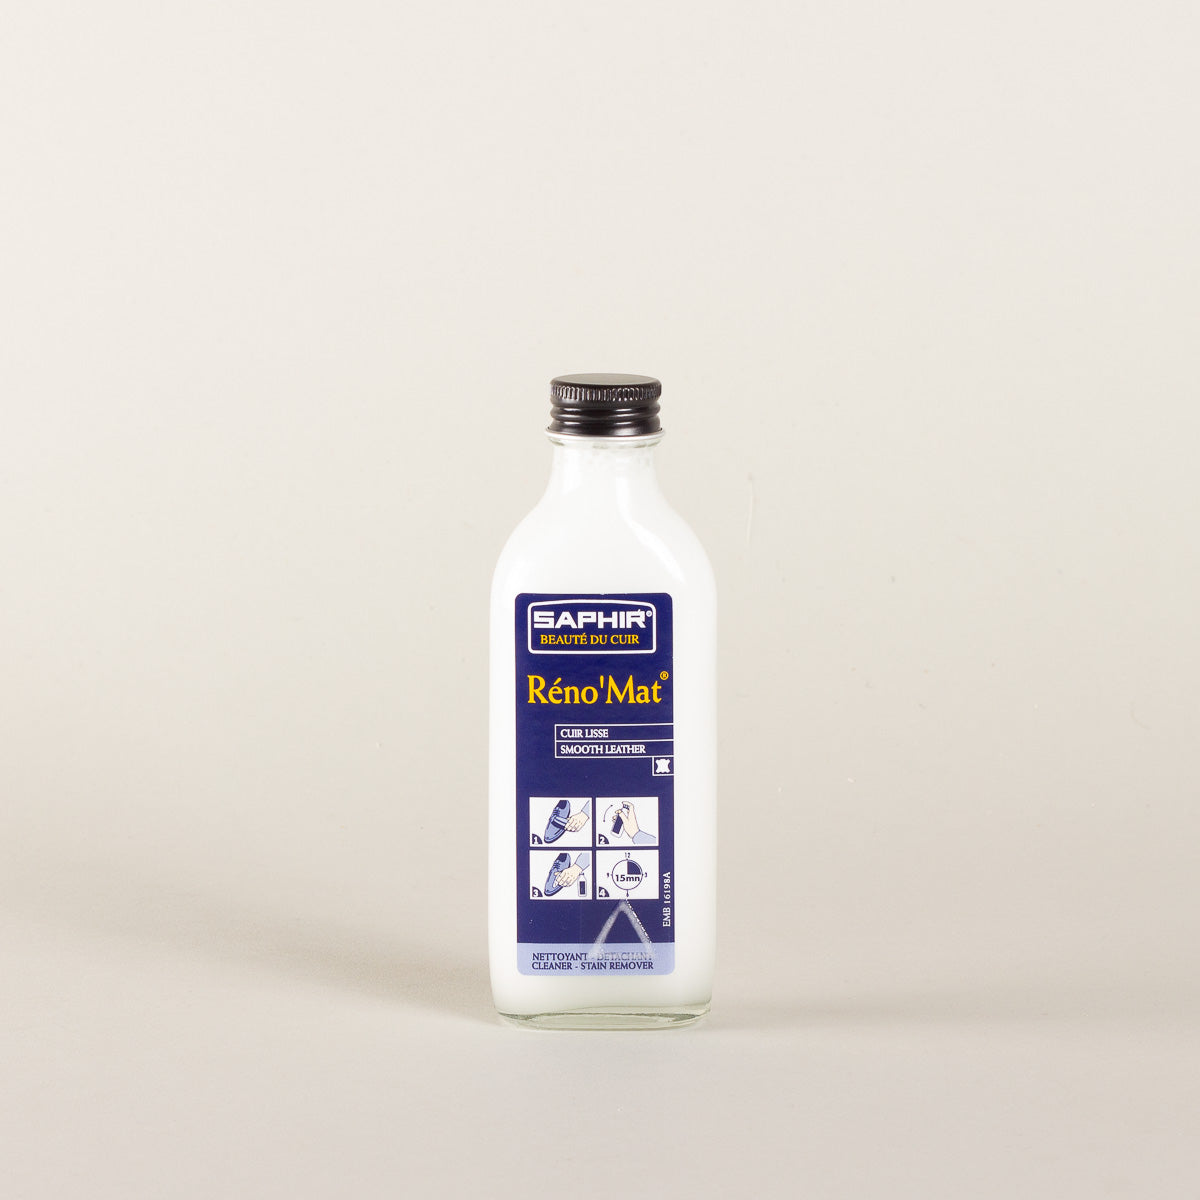
Products for this step


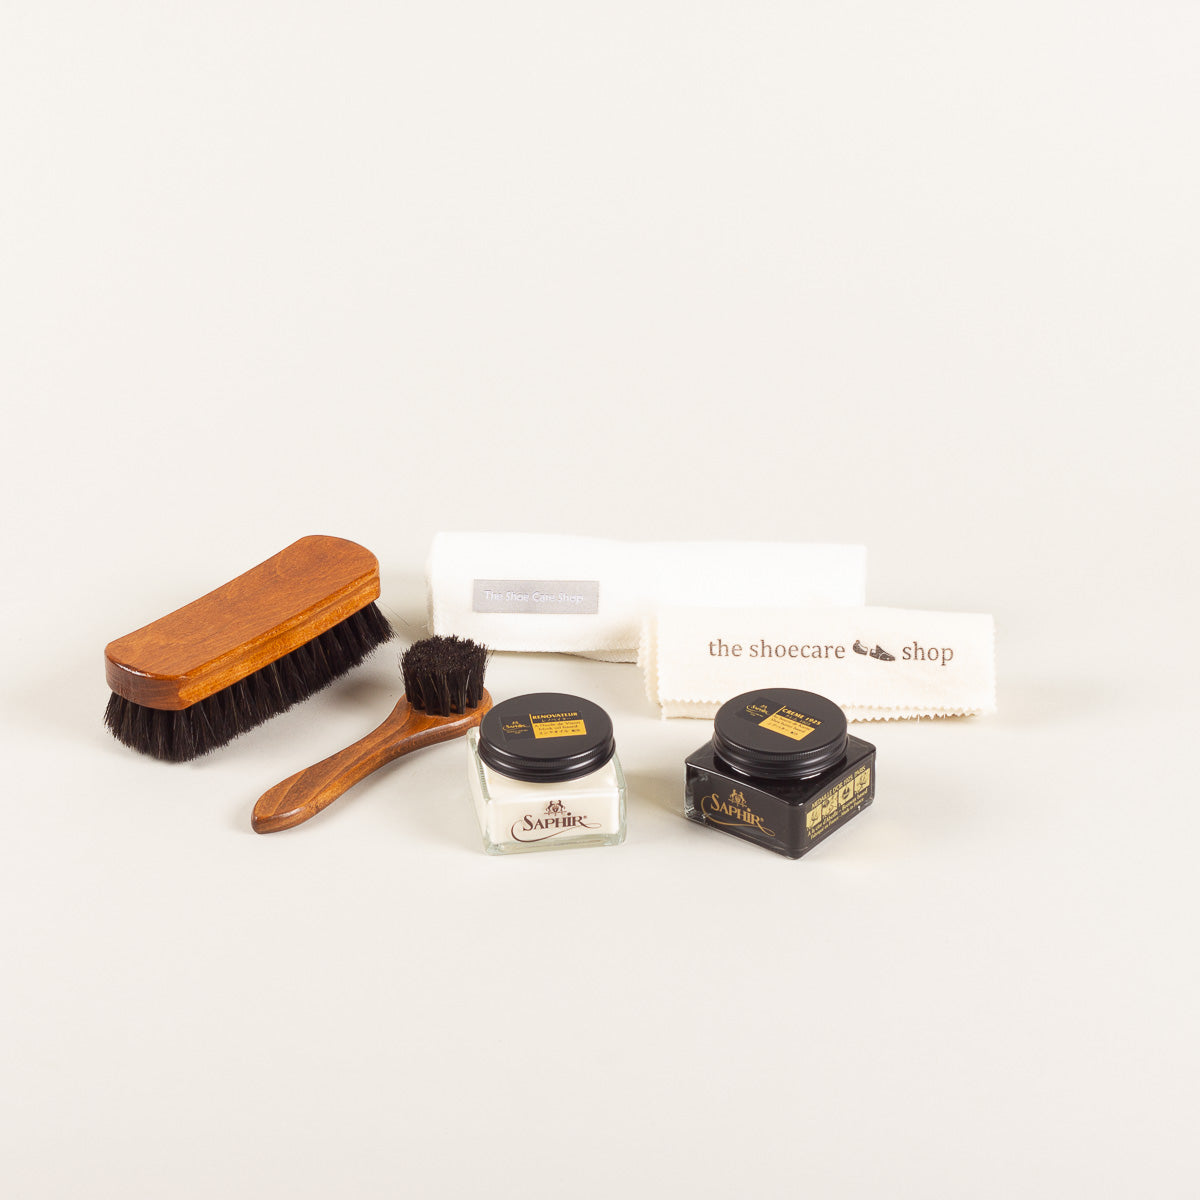
The first layers of shoe wax
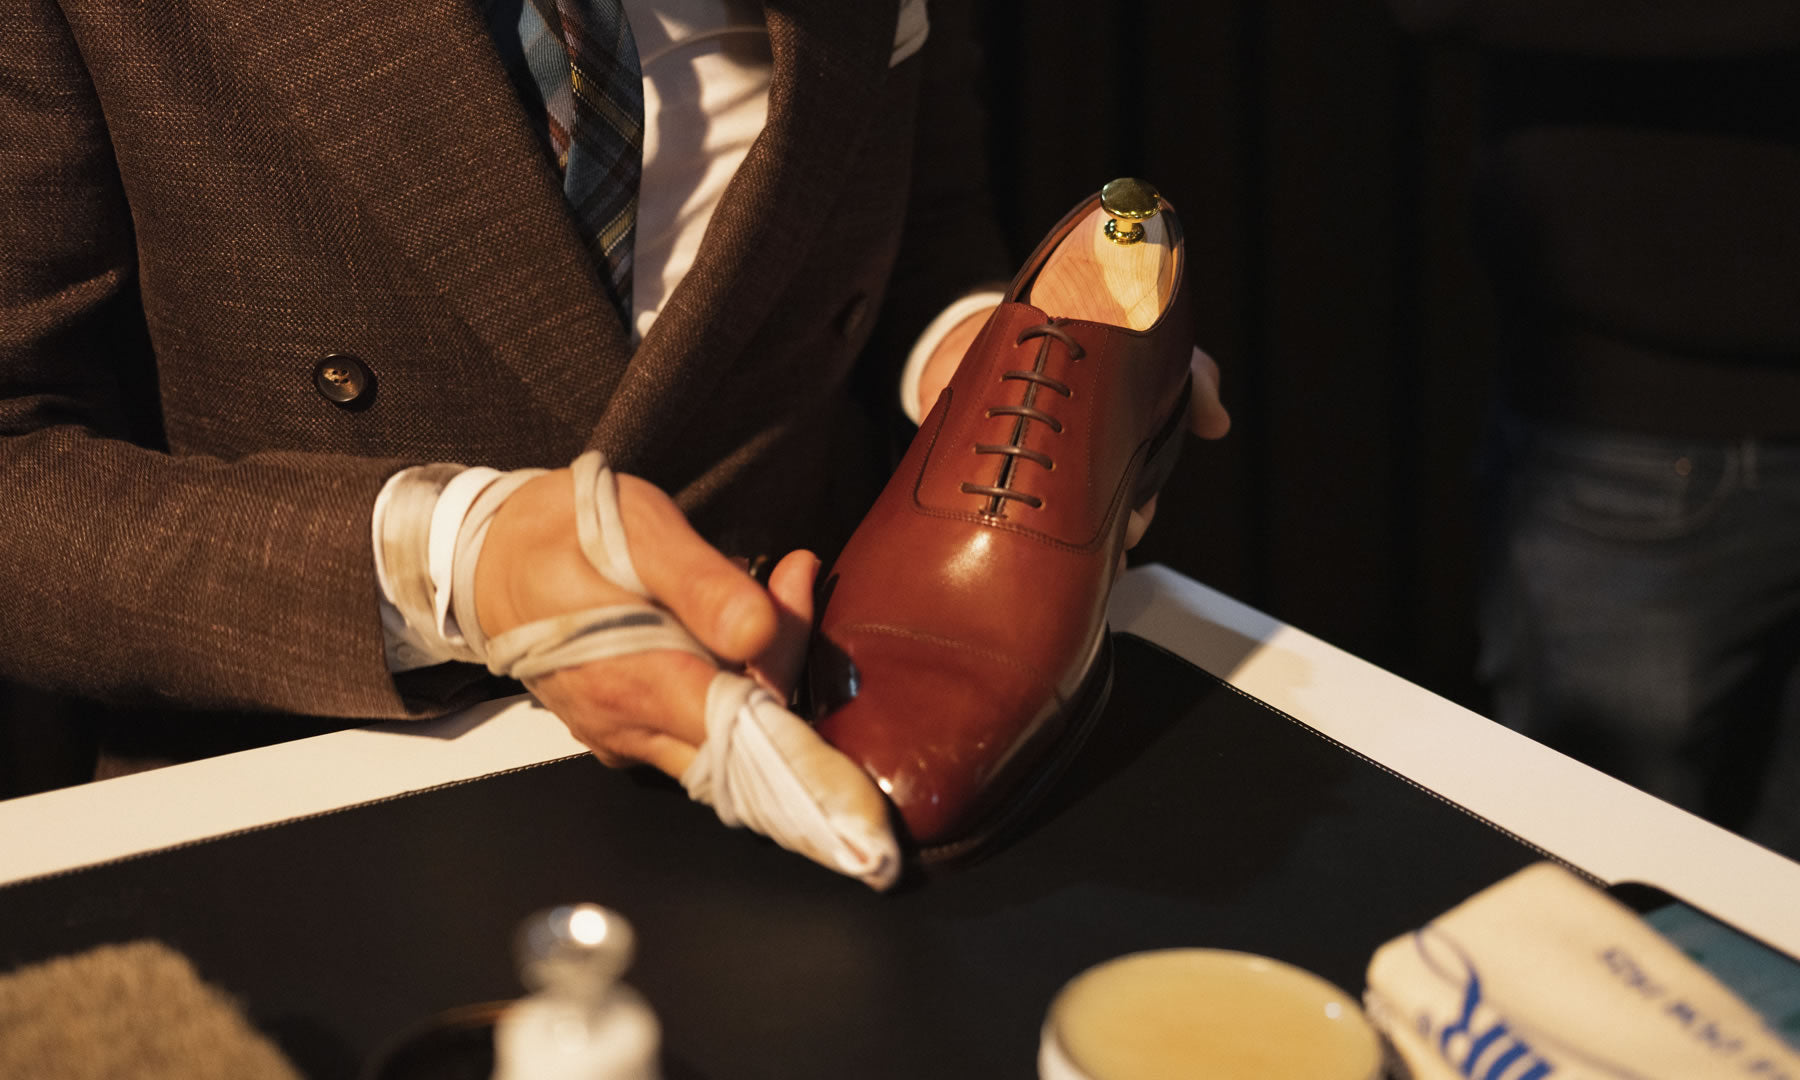
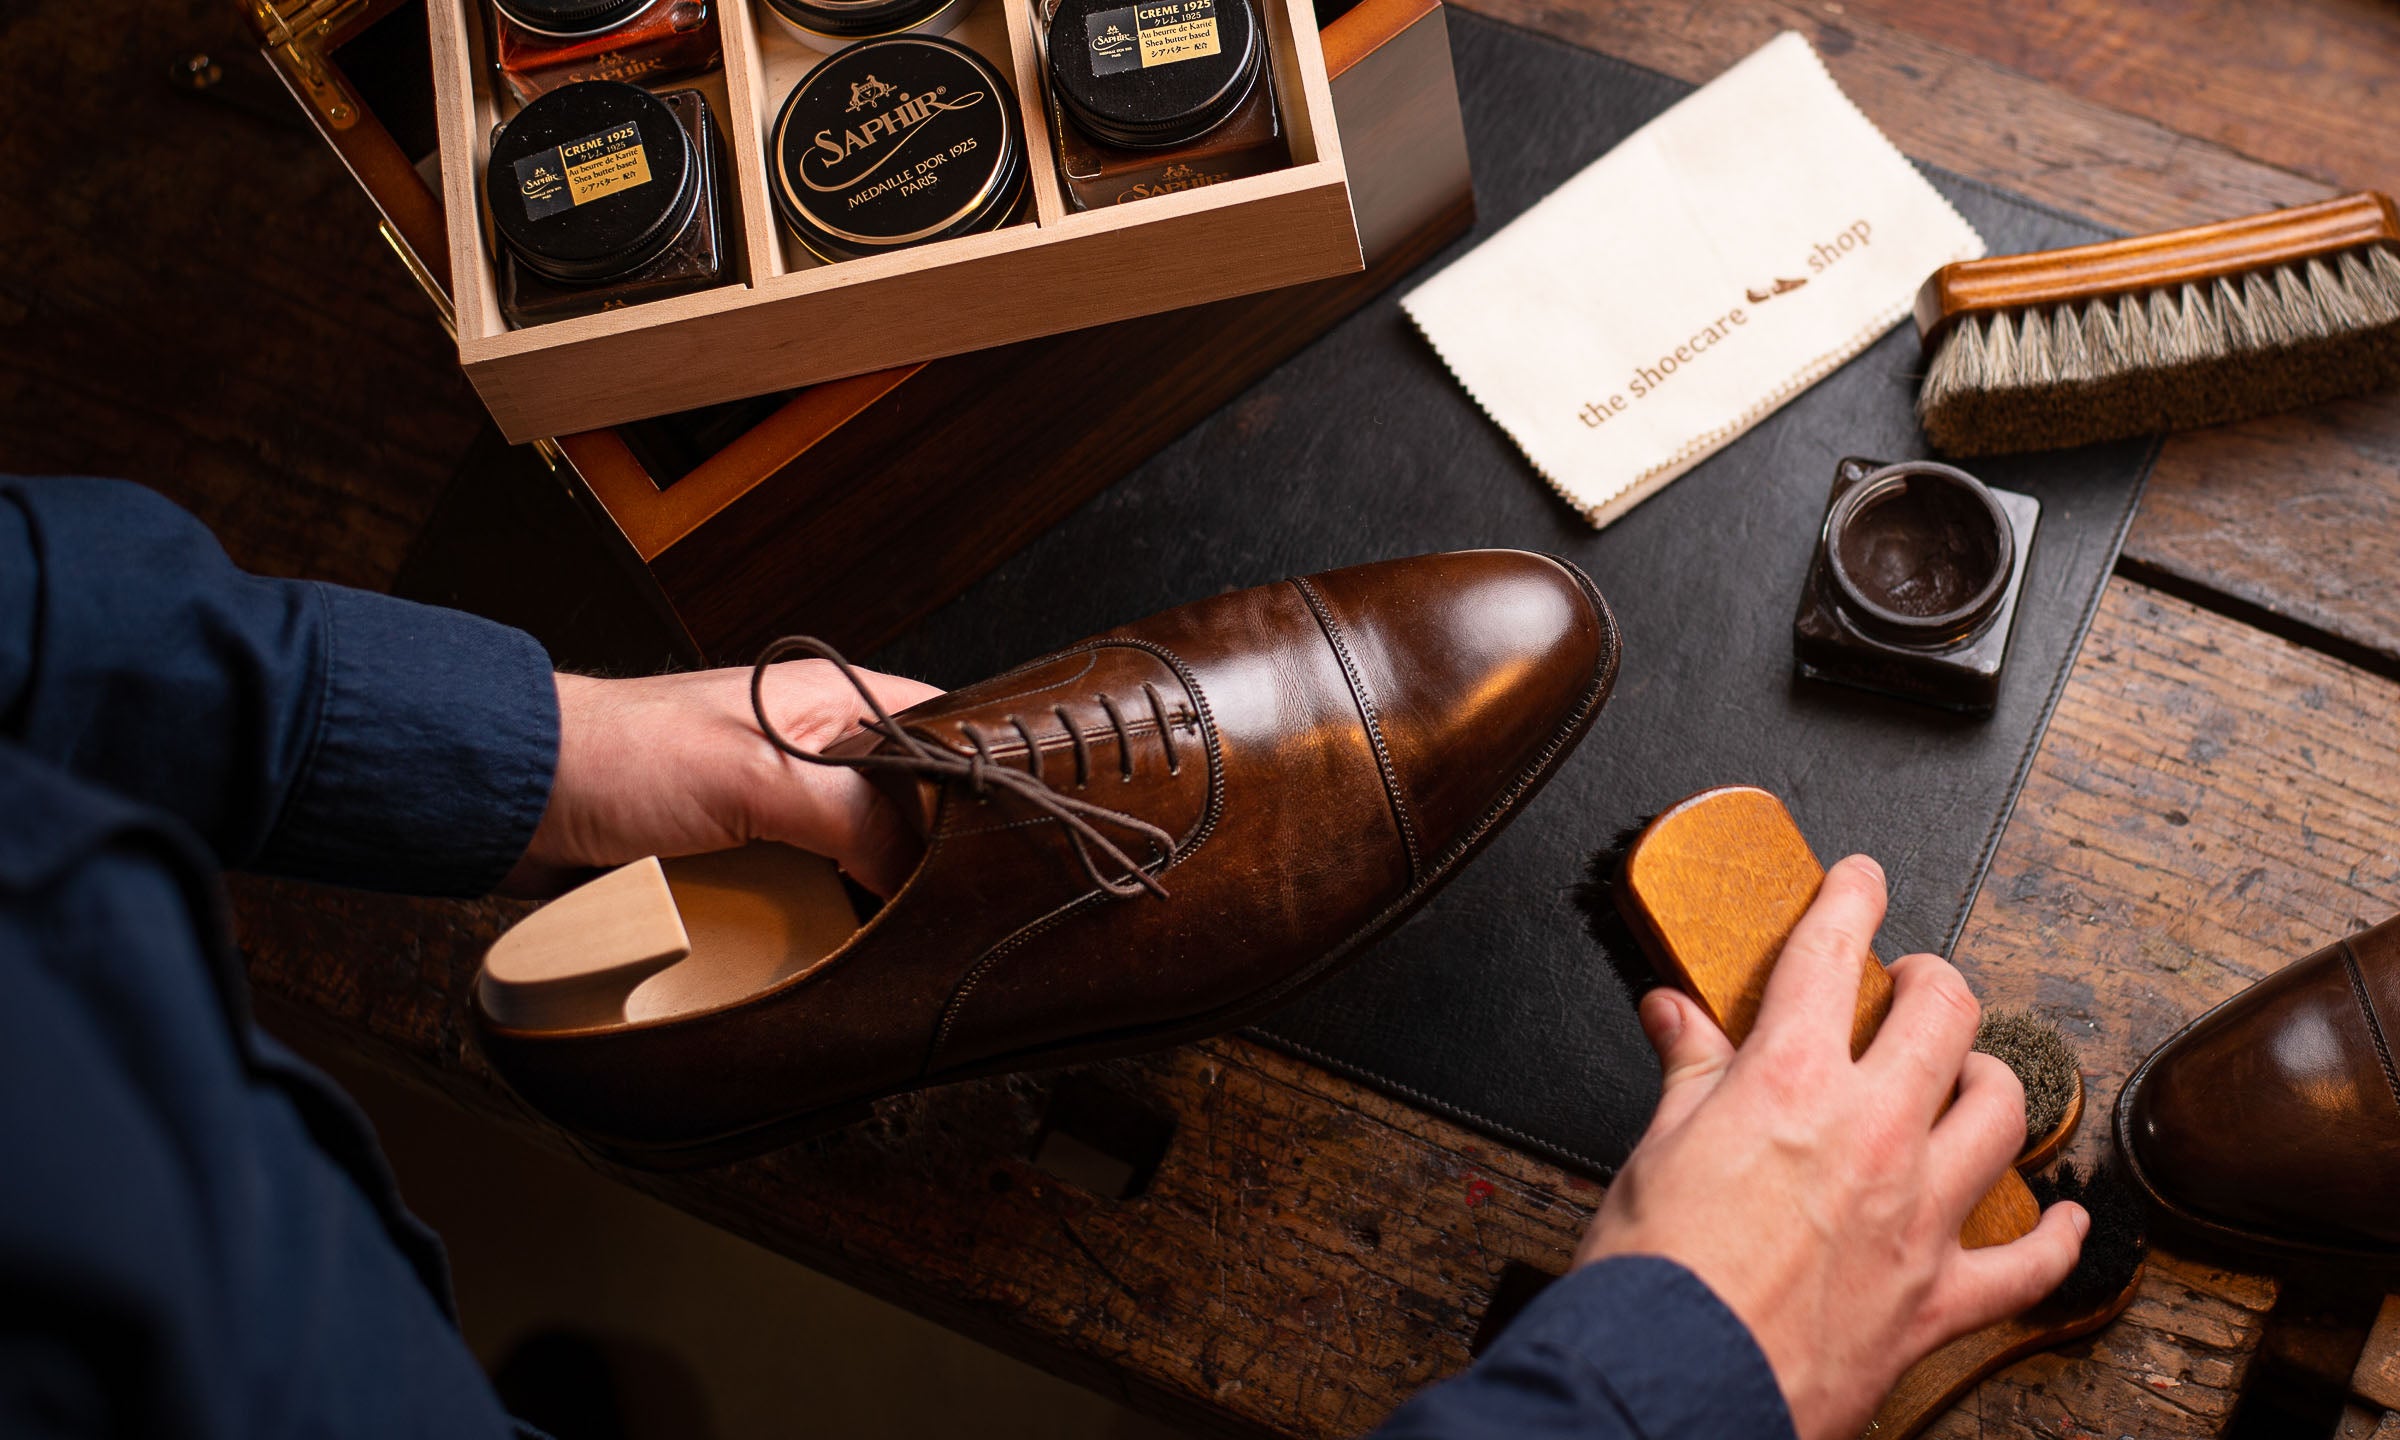
Apply a little shoe wax to a cloth and massage the wax into the leather of your shoes. The general rule is to use as little shoe wax as possible, but for the first three layers you want to use slightly more since you are trying to cover the structure of the leather with layers of shoe wax. We like to use Saphir Médaille d'Or Mirror Gloss for our base layers of wax since it is a harder wax.
Once you’ve finished applying the wax to one shoe, start with the other shoe so the wax can dry into the leather a little bit. As soon as you’ve finished the second shoe, you can go back to the first shoe and shine the wax. Shine the leather with a shine cloth, rubbing it with low pressure and quickly over the toe cap to create heat. The heat melts the wax evenly over your shoe, making it as smooth as can be. Do this in between all the first three layers.
After the third layer you can check if you’ve used enough shoe wax, simply by touching the leather with your fingers. If you can still feel the structure of the leather clearly, you might want to apply another layer. If you only feel it slightly or even better, not at all, you can continue with the finishing of your mirror shine.
Tip!
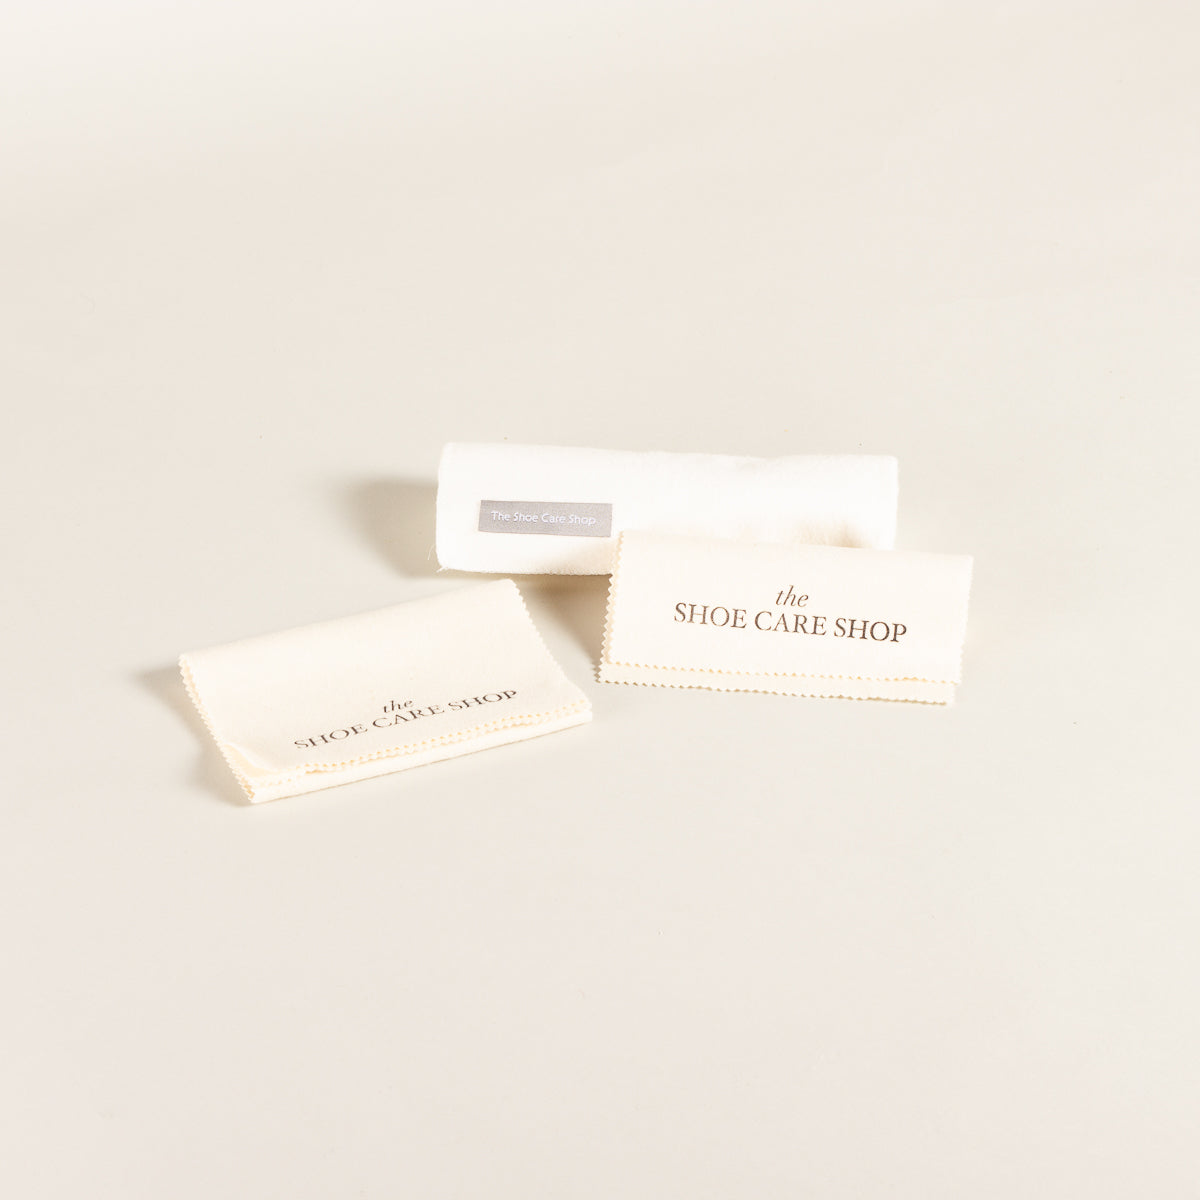
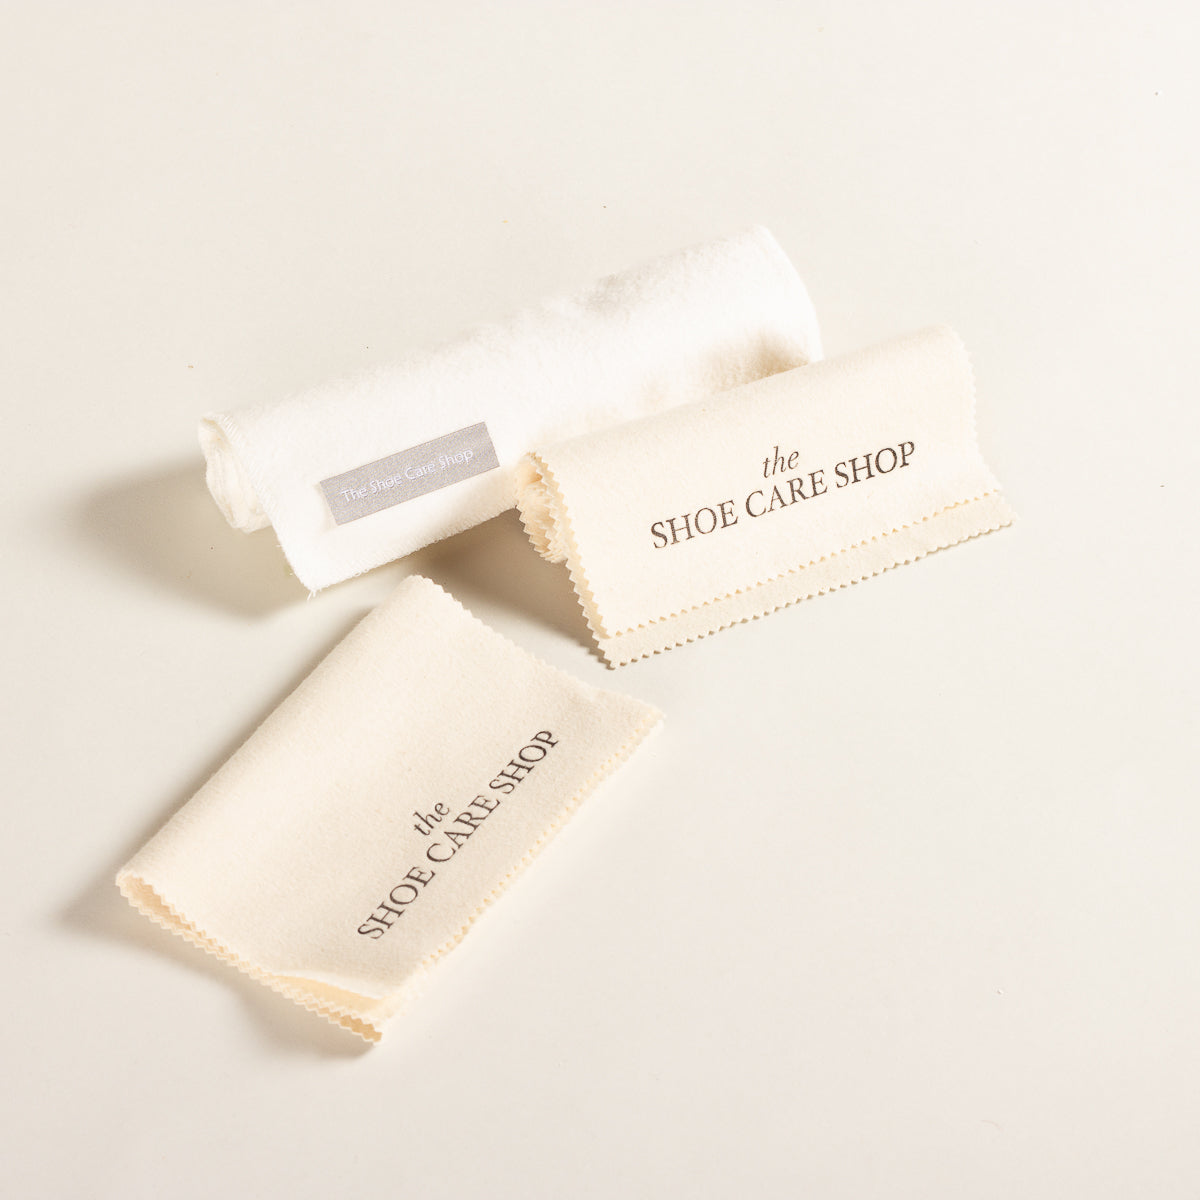
Use a soft cotton cloth to shine each layer of wax. Use only the weight of your fingers while shining. If you use too much pressure you might rub off the wax you just applied.
Products for this step


Building up the shine
Apply the next layer of wax, but from now on, really try to use as little wax as possible. As our "finishing wax" we like to use the more solvent rich Saphir Médaille d'Or Pate de Luxe. Use just enough wax to cover the toe cap, but don’t apply a thick layer. The shoes should already built up a visible, glossy wax layer, because of the three layers you’ve applied earlier. Once you’ve applied the layer, let it dry.
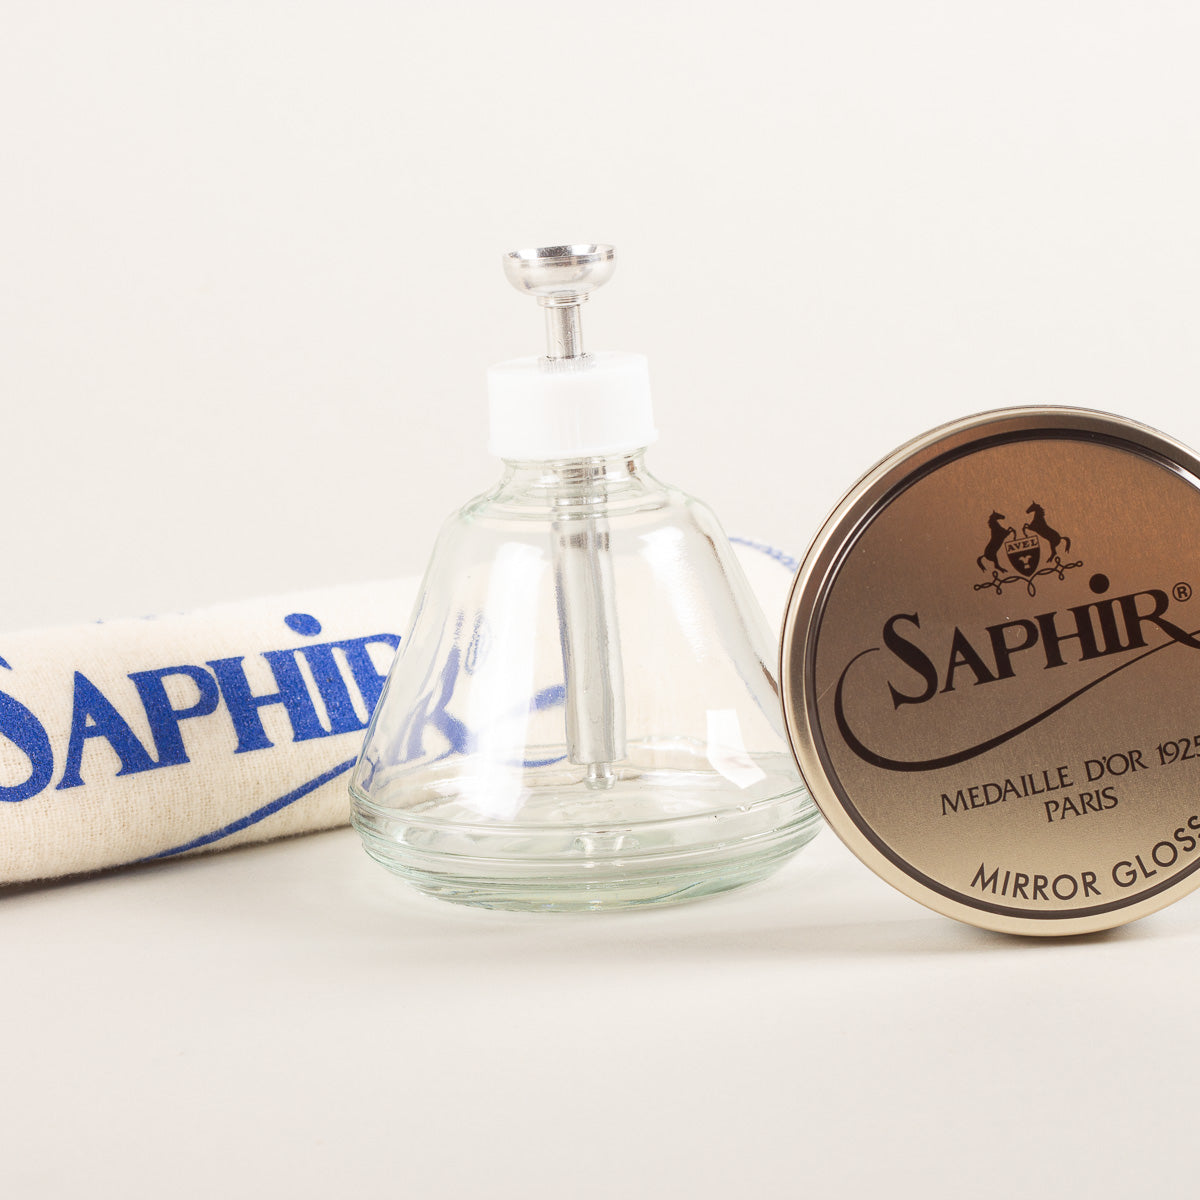
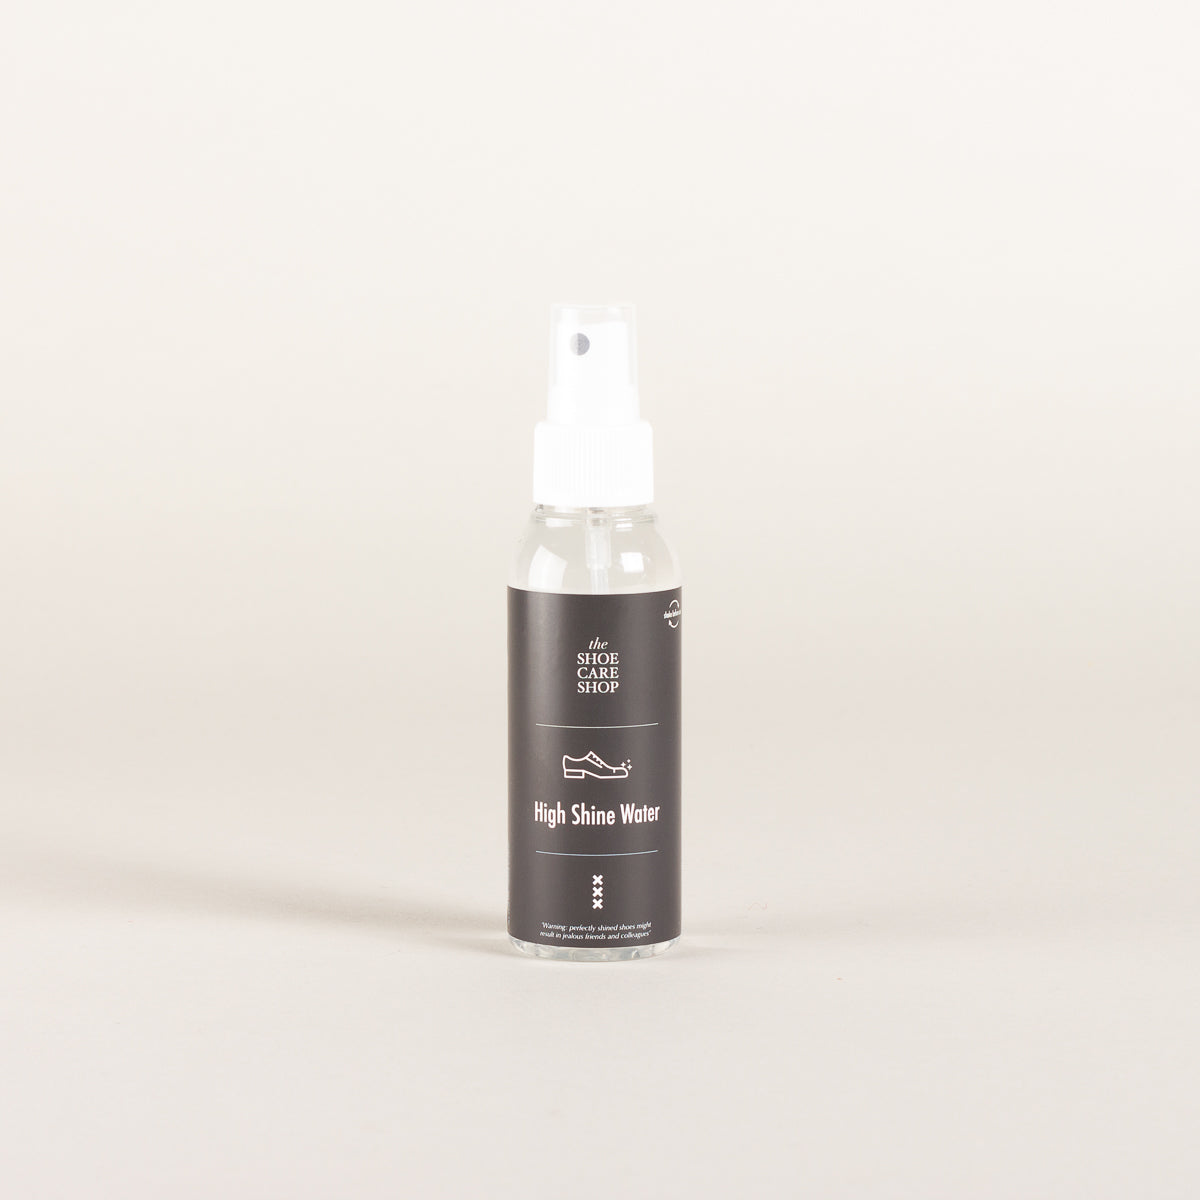
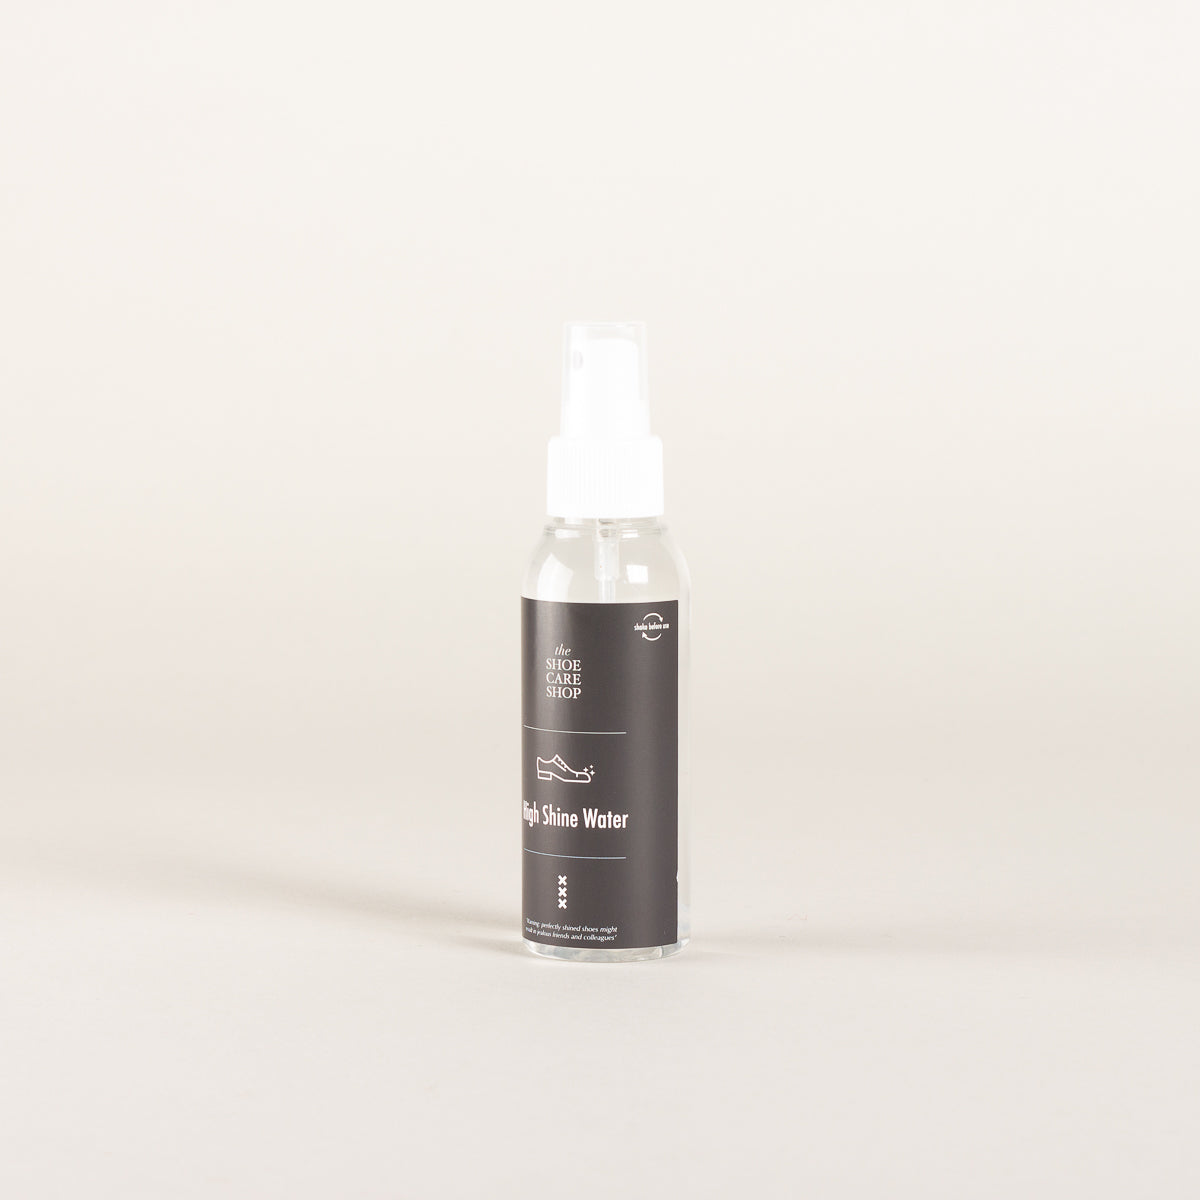
Wait a few minutes and shine the wax using a cotton cloth. It enhances the heat, which causes the wax to shine more. Before you start, drip two small drops of water or mist the toe cap with our High shine water. The water will help to distribute the heat, creating an even layer of wax.
Apply as many layers of shoe wax as you wish, until you’ve reached the shine you were hoping for. Keep checking your progress in between the layers by touching the leather to feel if it is smooth already. On average it takes us about 6-7 layers of wax to get a mirror shine, depending on the type of shoe wax, leather and technique you use. Remember to be patient, as it might take multiple attempts before you master the technique. Good luck!
Tip!
Use a coloured shoe wax to create an even deeper shine. Wax in the same colour, or a shade darker, usually works best.
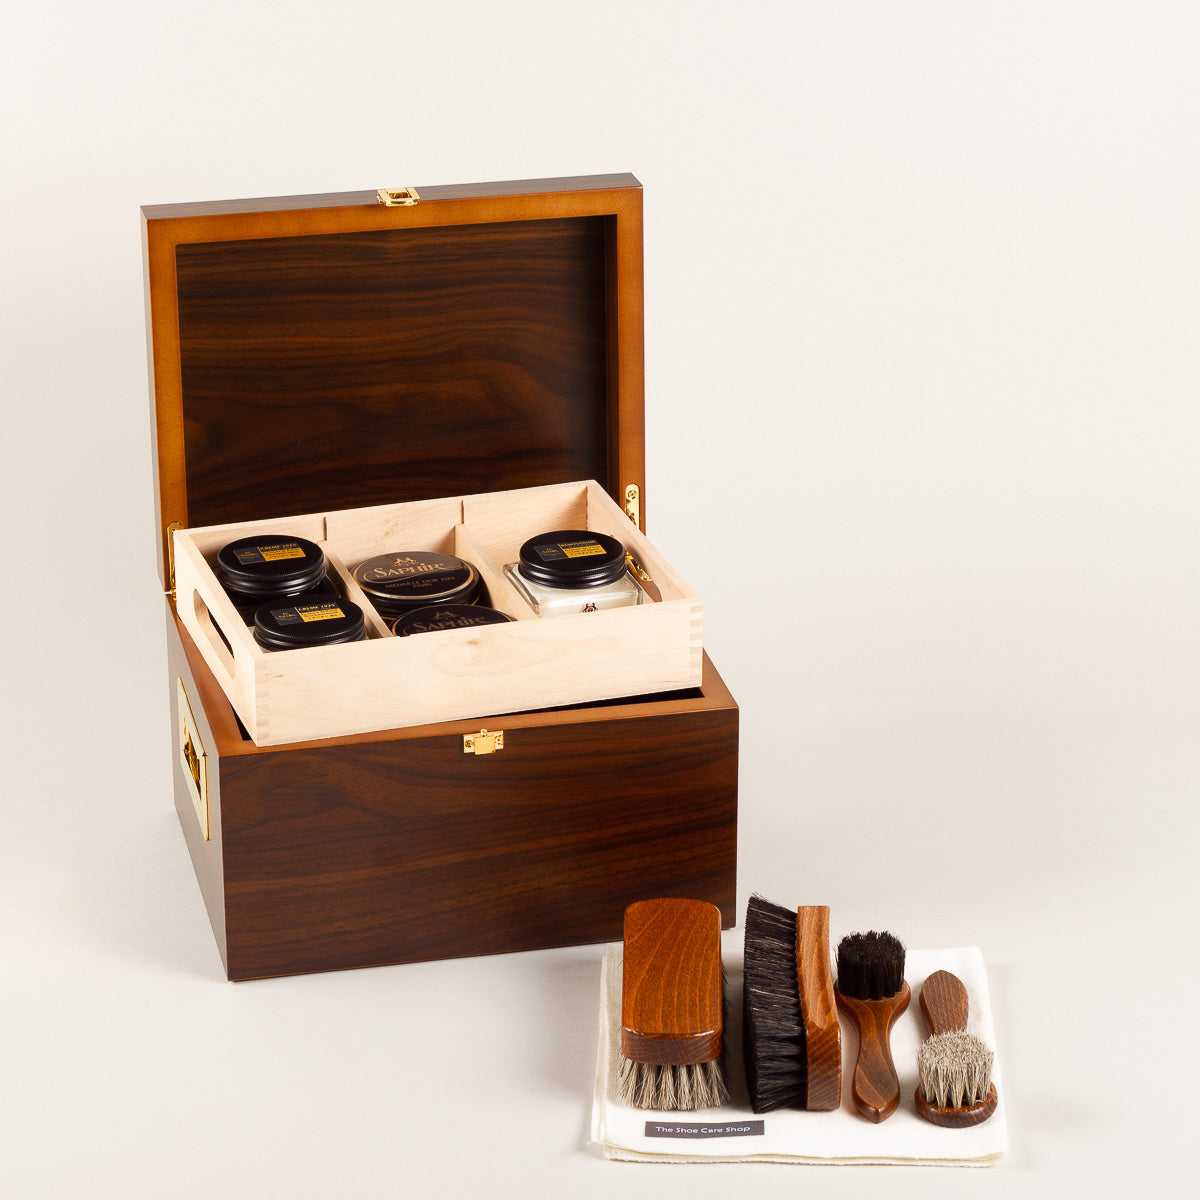
Products for this step


Shoe wax colour
For basically any colour shoe you can use neutral shoe wax and cream. The only exception are black shoes for which you want to stick to using black shoe polish only.
We prefer using a colour Mirror Gloss and Pate de Luxe in a shade that closely matched the colour of the shoes. That way you create an extra layer of depth in the mirror shine thanks due to the pigment in the wax.
To find the colour shoe polish that matches your shoes we recommend having a look at our Saphir Médaille d'Or shoe polish colour guide.
In short
- Prepare your mirror shine by removing any old, dried-up polish with Saphir Renomat. The first few layers of Mirror Gloss are mainly there to fill the pores and smooth out the leather, so they can be applied a little more generously. What you’re doing is creating a perfectly smooth wax surface—only then will you achieve the true mirror shine effect.
- After applying each layer of wax, buff it gently with a cloth. Use just the weight of your fingers (don’t rub too hard) and add a touch of water or our High Shine Water to help the cloth glide more easily across the surface.
- Once the initial layers of Mirror Gloss are in place, refine the finish with Pâte de Luxe. Patience is key. Mirror shining is a skill that improves with practice. If things don’t turn out the way you want, simply start over by removing the wax with a little Renomat.
You might also be interested in these guides
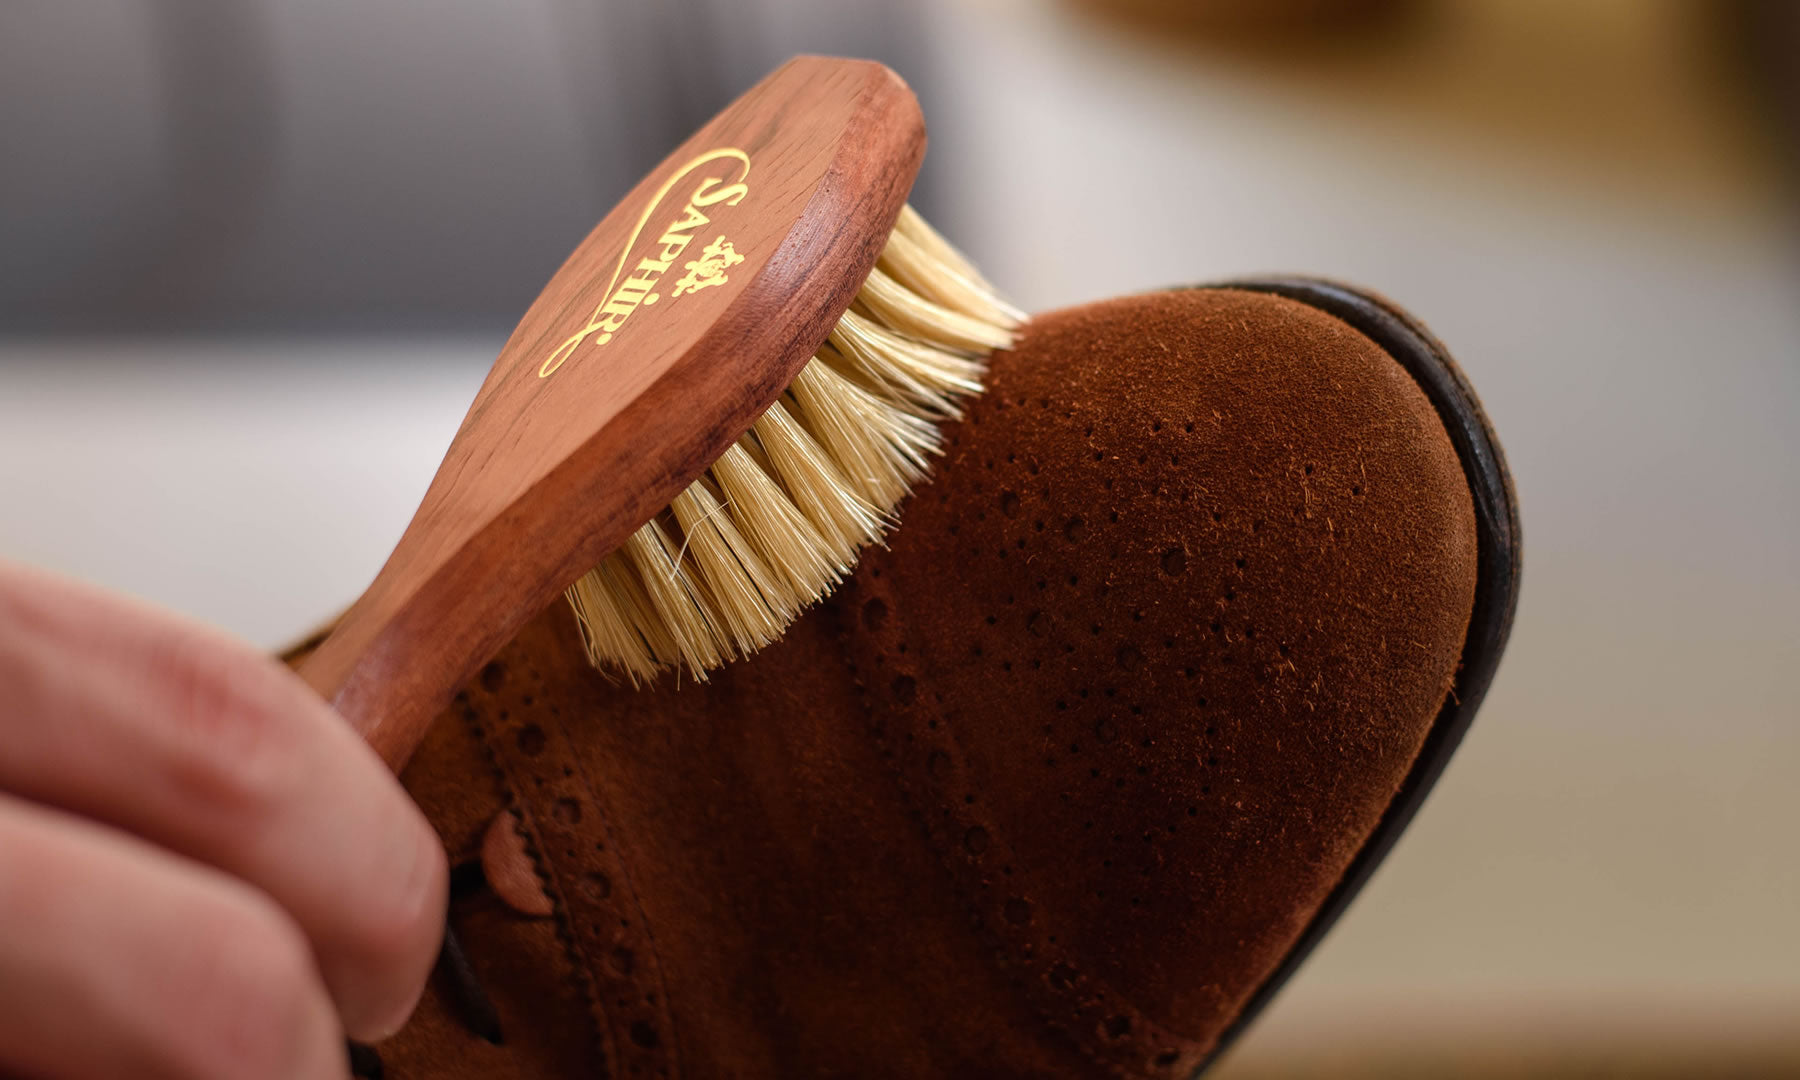
Suede and nubuck guide
Freshen up your suede and nubuck shoes with this quick and easy maintenance guide.
Advanced shoe shine guide
Want to lift your shoe shine to the next level? Be sure to give our advanced shoe shine guide a read.
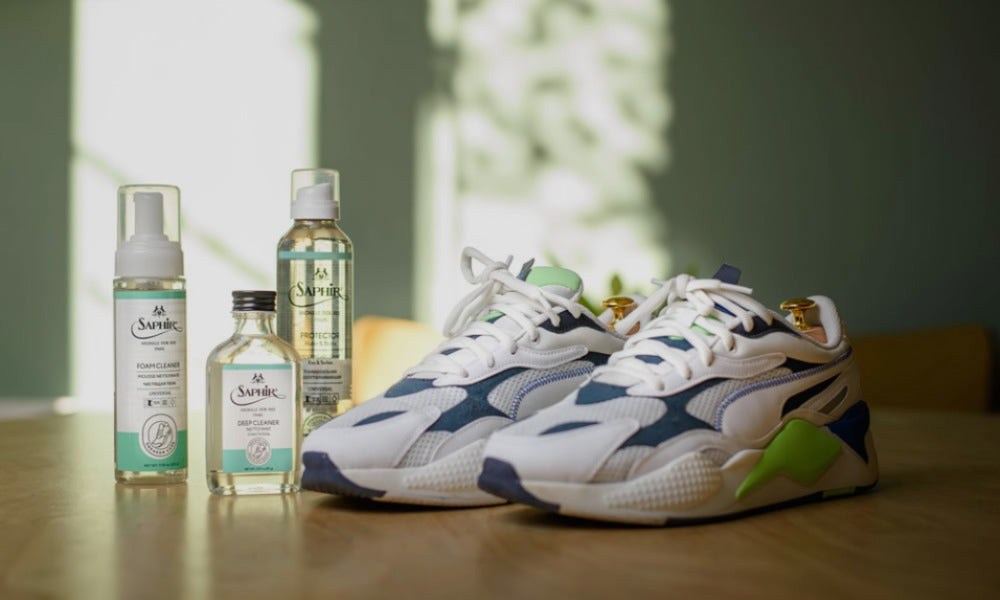
Sneaker cleaning
Make your sneakers as good as new with this sneaker cleaning guide.
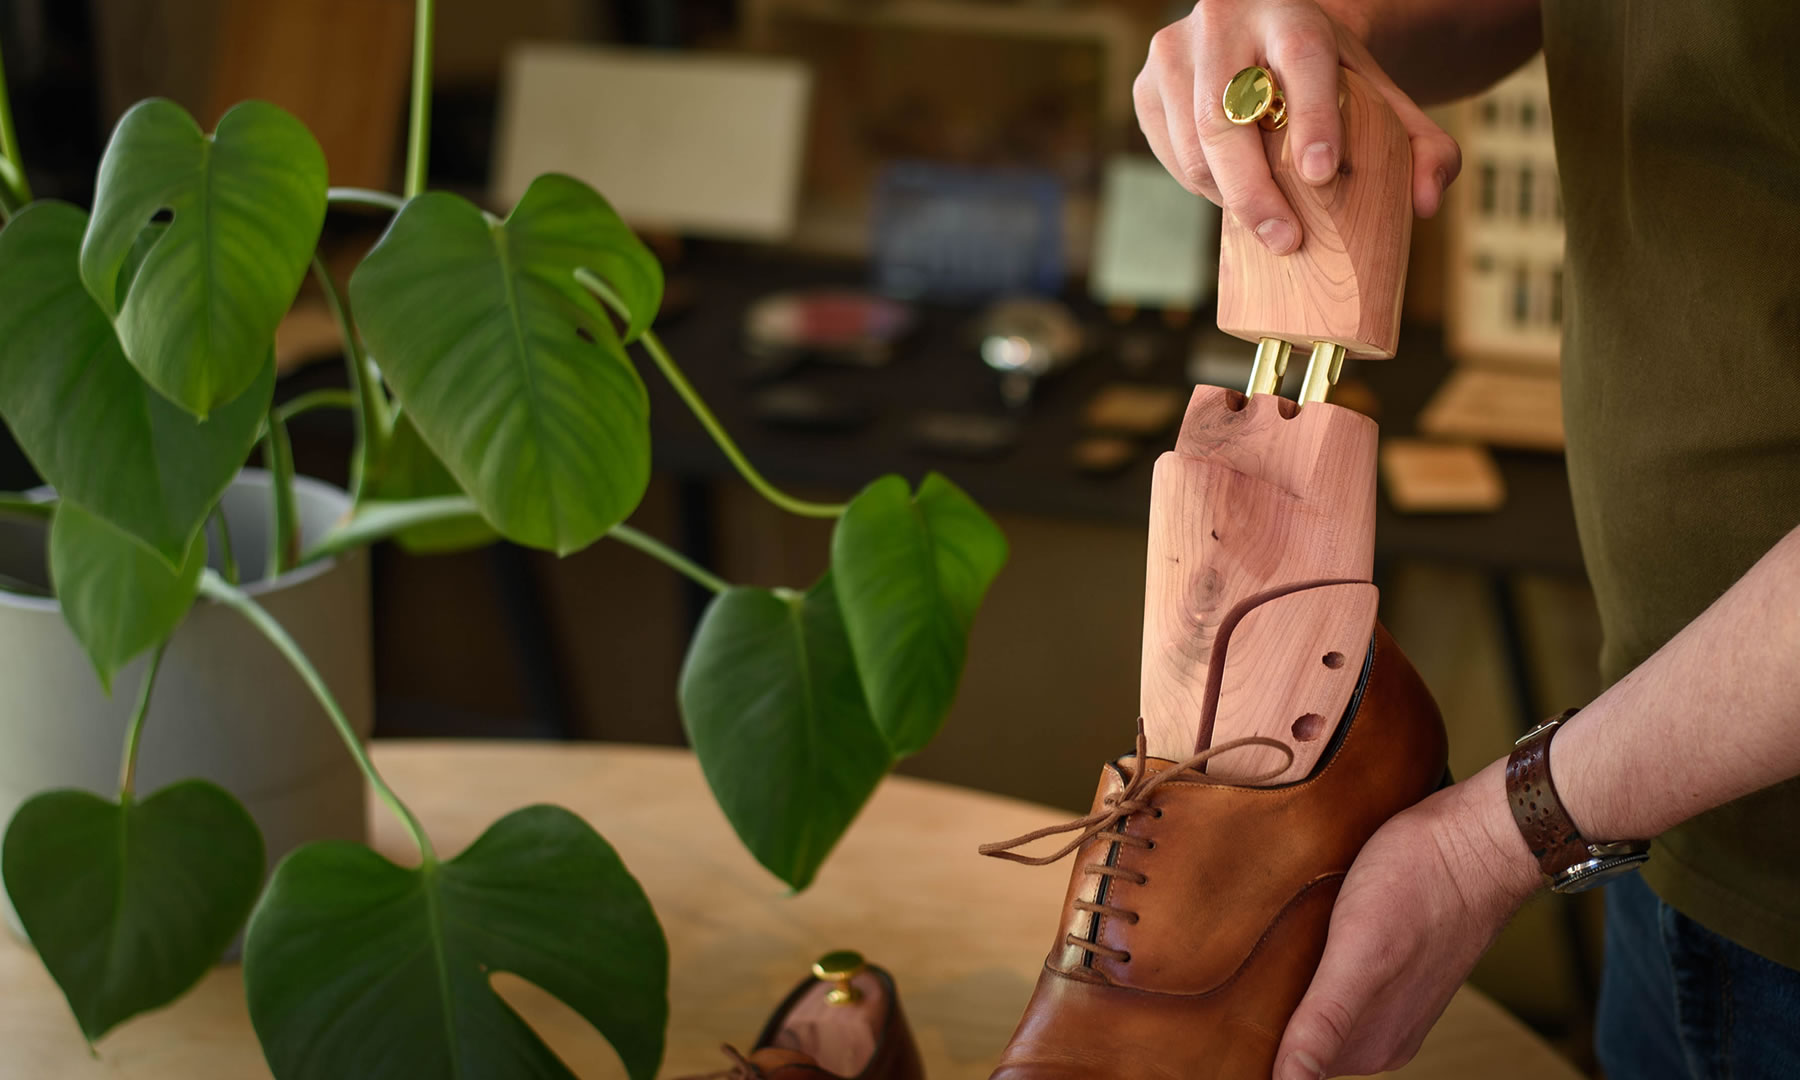
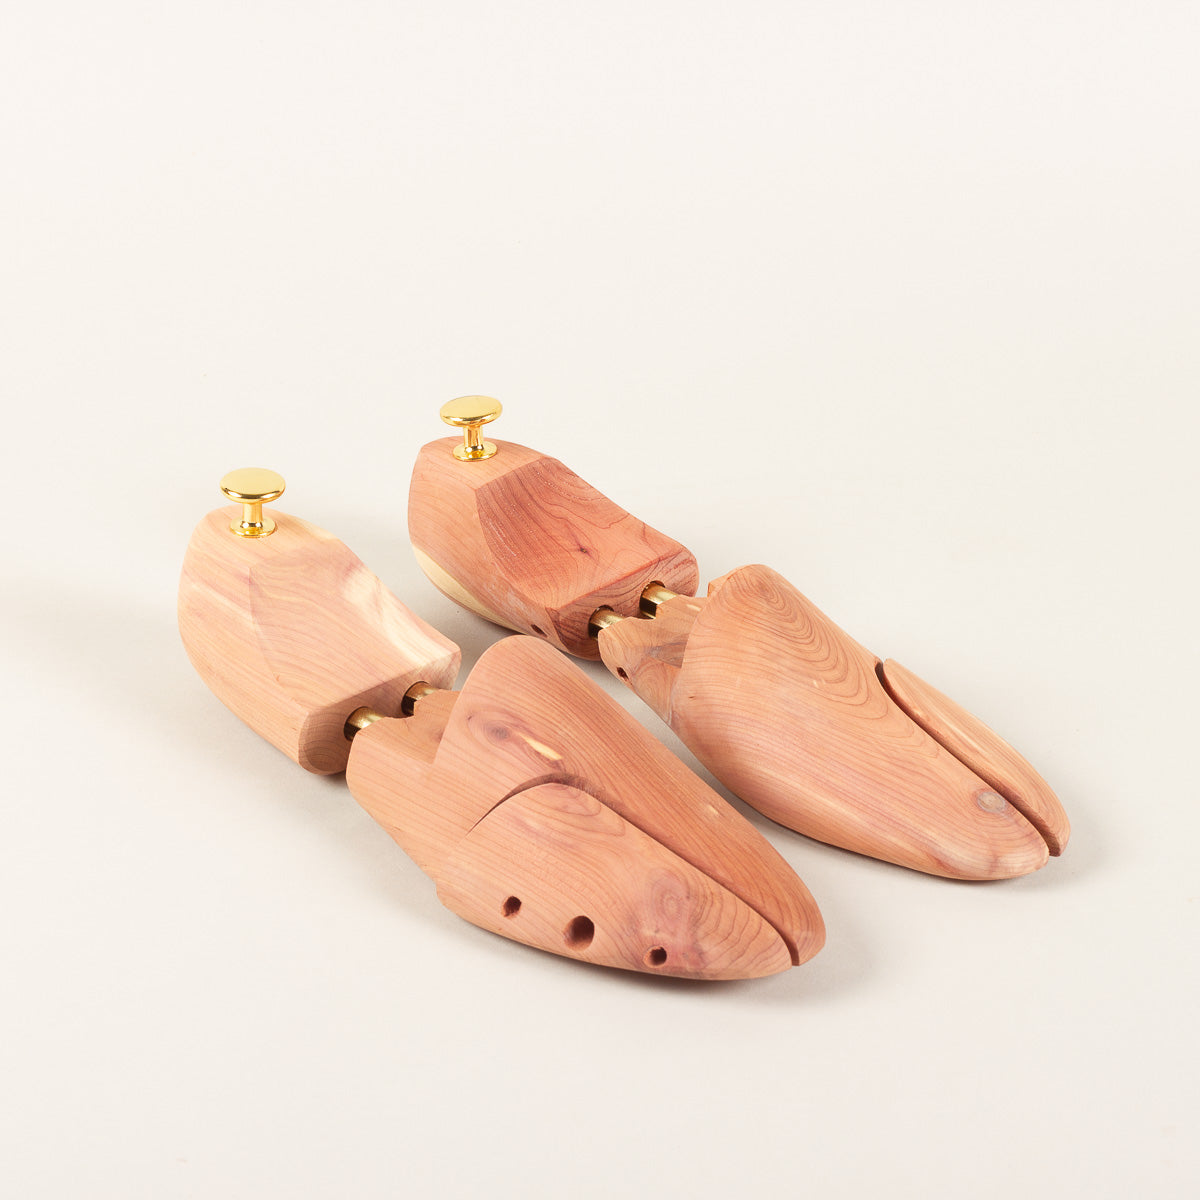
Shoe Trees
Keep your shoes in shape with a pair of well made wooden shoe trees.